Learn how to change the header of “new item” with 2 examples
The standard header when creating a new list item, is in my opinion, not very user friendly, and as a standard just says “New item”
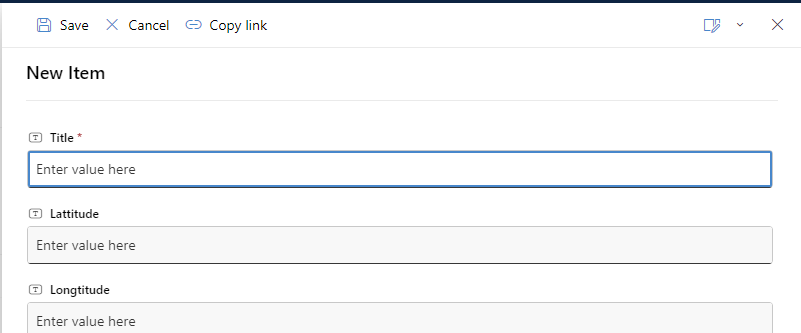
Luckely we can change that with JSON, and I will give you two examples
Example 1
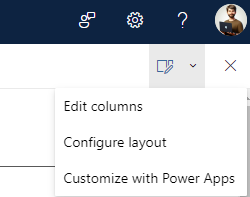
Go to your list and select +New, and in the upper right corner select the edit icon and choose Configure layout
You will see that you have to possibility to apply formatting to Header, Body and Footer. In this blog we will focus on the Header only.
Insert the following code
{
    "elmType": "div",
    "attributes": {
        "class": "ms-borderColor-neutralTertiary"
    },
    "style": {
        "width": "99%",
        "border-top-width": "0px",
        "border-bottom-width": "1px",
        "border-left-width": "0px",
        "border-right-width": "0px",
        "border-style": "solid",
        "margin-bottom": "16px"
    },
    "children": [
        {
            "elmType": "div",
            "style": {
                "display": "flex",
                "box-sizing": "border-box",
                "align-items": "center"
            },
            "children": [
                {
                    "elmType": "div",
                    "attributes": {
                        "iconName": "=if([$Title] == '', 'addtable', 'Table')",
                        "class": "ms-fontSize-42 ms-fontWeight-regular ms-fontColor-themePrimary",
                        "title": "Details"
                    },
                    "style": {
                        "flex": "none",
                        "padding": "0px",
                        "padding-left": "0px",
                        "height": "36px"
                    }
                }
            ]
        },
        {
            "elmType": "div",
            "attributes": {
                "class": "ms-fontColor-neutralSecondary ms-fontWeight-bold ms-fontSize-24"
            },
            "style": {
                "box-sizing": "border-box",
                "width": "100%",
                "text-align": "left",
                "padding": "21px 12px 12px",
                "overflow": "hidden"
            },
            "children": [
                {
                    "elmType": "div",
                    "txtContent": "=if([$Title] == '', 'New list item (header formatting)', 'Editing ' + '[$Title]')"
                }
            ]
        }
    ]
}
The code explained
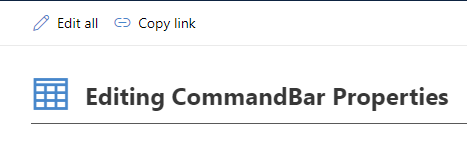
"iconName": "=if([$Title] == '', 'addtable', 'Table')"
Here we are looking at the Title column.
If it is empty, we will show the addtable icon, and if it is not, we will show the Table icon.
If you are not using the Title column as your required column, change $Title with the internal name of your column.
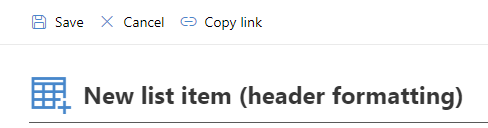
"txtContent": "=if([$Title] == '', 'New list item (header formatting)', 'Editing ' + '[$Title]')"
Here we are again looking at the Title field, and if it is blank we will show the header “New list item (header formatting).
If it is not blank we will show Editing and the value of the Title column
This is what the header looks like when editing the item
Example 2

This approach is a little more bold. Here is the code
{
"elmType": "div",
"attributes": {
"class": "ms-bgColor-themePrimary ms-fontColor-white"
},
"style": {
"width": "100%",
"height": "100px",
"box-sizing": "border-box",
"display": "flex",
"align-items": "center",
"justify-content": "center",
"margin-bottom": "16px"
},
"children": [
{
"elmType": "div",
"attributes": {
"class": "ms-fontSize-24 ms-fontWeight-bold"
},
"style": {
"box-sizing": "border-box",
"text-align": "center",
"overflow": "hidden",
"padding": "12px"
},
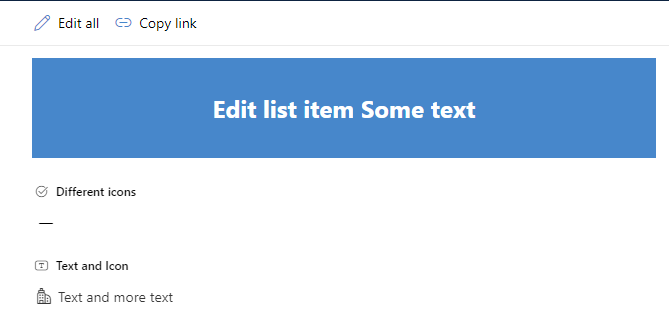
"txtContent": "=if([$Title] == '', 'New list item', 'Edit list item ' + '[$JustText]')"
}
]
}
Here is what it looks like now, when editing the list item
That’s it, you can now with little effort change the look and feel of the list item in your future lists